
How to Build a Wooden Fence?
Building a wooden fence is a good way to define your property, enhance security, and keep your children and domestic animals safe. A well-installed fence also adds visual appeal and long-term value to your home. If you are considering installing a wooden fence on your property, it is important to understand each step of the process, from planning through installation to the final look. It's something you can do with the right materials and tools. Although it may take time, if you follow each step carefully, installing a wooden fence will be easy.
Step-by-Step Procedure to Build a Wooden Fence
To construct a wooden fence, you need to take several steps to achieve the desired appearance.
Check Local Rules and Permits
Once you have decided to install a wood fence, the foremost task is to check applicable rules and regulations and obtain any required permits. Communicate with the local or municipal authorities to confirm whether your fence requires a permit for installation. If your fence is being built in the front yard, this area most probably needs permission. Make sure to keep in mind the area boundaries and neighbor association rules.
Apply for any required permits and hold up the construction process until they are approved. Following these rules will help you avoid the high penalties and delays that can lead to an illegally installed fence.
Plan Your Fence
For planning, you have to consider three main things:
Measure the Area: You can use a measuring wheel or a tape measure to accurately measure the length of the place. Start measuring from the starting point and continue extending it to the last point of the fence line. If the extension goes longer, you can take measurements even in sections.
Mark the Corner: Use metal markers or wooden stakes to mark the corner. To change direction, place stakes at the corner and verify the angle is correct using a steel square or the 3-4-5 triangle technique.
The 3-4-5 triangle method involves measuring:
3 feet along one side
4 feet along the other side
The diagonal should measure 5 feet
For connecting stakes, use chalk lines or a string for a pictorial guide.
Calculate the Materials: When you measure the length, width, and height of the fence. Gather all materials, and include an additional 10-15% of the total material estimate for miscalculations.
Mark the Fence Layout
Once you have gone through the process of planning thoroughly, the next step is to consider that your fence is constructed within your property boundary. Talk to your neighbors about the fence construction to make sure there is no disagreement. If they have any agreement, you can consult the property registry service.
Start marking the fence layout according to your decided plan. Ensure the corners of the fence are at 90-degree angles. Mark the fence layout intentionally; any errors will be difficult to correct later.
Gather Required Tools
Select the wood type and gather the required installation materials.
Fence posts (make sure this wood is treated wood to ensure your fence lasts for years)
Stakes and strings or mason line
Fence pickets (make sure this is treated wood)
Fence screws
Shovel
Rail brackets
Post hole digger
Cement
Tape measure
Fence rails
Post level
Dig Holes for Fence Posts
Once you have finished marking the fence corners, the next step is to mark the remaining posts. Keep in mind the main principle: the post location should not exceed 8 feet.
To mark the post locations, dig holes using a post hole digger. It is advisable to dig the hole deep enough to bury a third of the post.
Set the Fence Posts
Properly setting the fence posts cannot be done in a single step. You need to:
Position the Post: Carefully locate the fence post in the middle of the dig hole. Make sure that all directions are vertical.
Add Gravel for Drainage System: It is recommended to add nearly six inches of gravel in the center of the hole. This improves drainage and helps protect the post from later decomposition.
Fill the Whole: You have to fill the hole with a concrete mix. Follow the instructions on the concrete bag and use a stick or shovel to blend the concrete.
Stabilize the Post Again: After the concrete has set on the surface, check it one more time with a level. Make sure to adjust the post alignment as needed to ensure its vertical position.
Allow Concrete to Set: Before starting the new procedure, wait at least 24 hours. Once the concrete has set, the post emphasizes its safety and ability to support your fence.
Repeat for All Posts: Follow the same process for each fence; all posts require leveling and proper spacing.
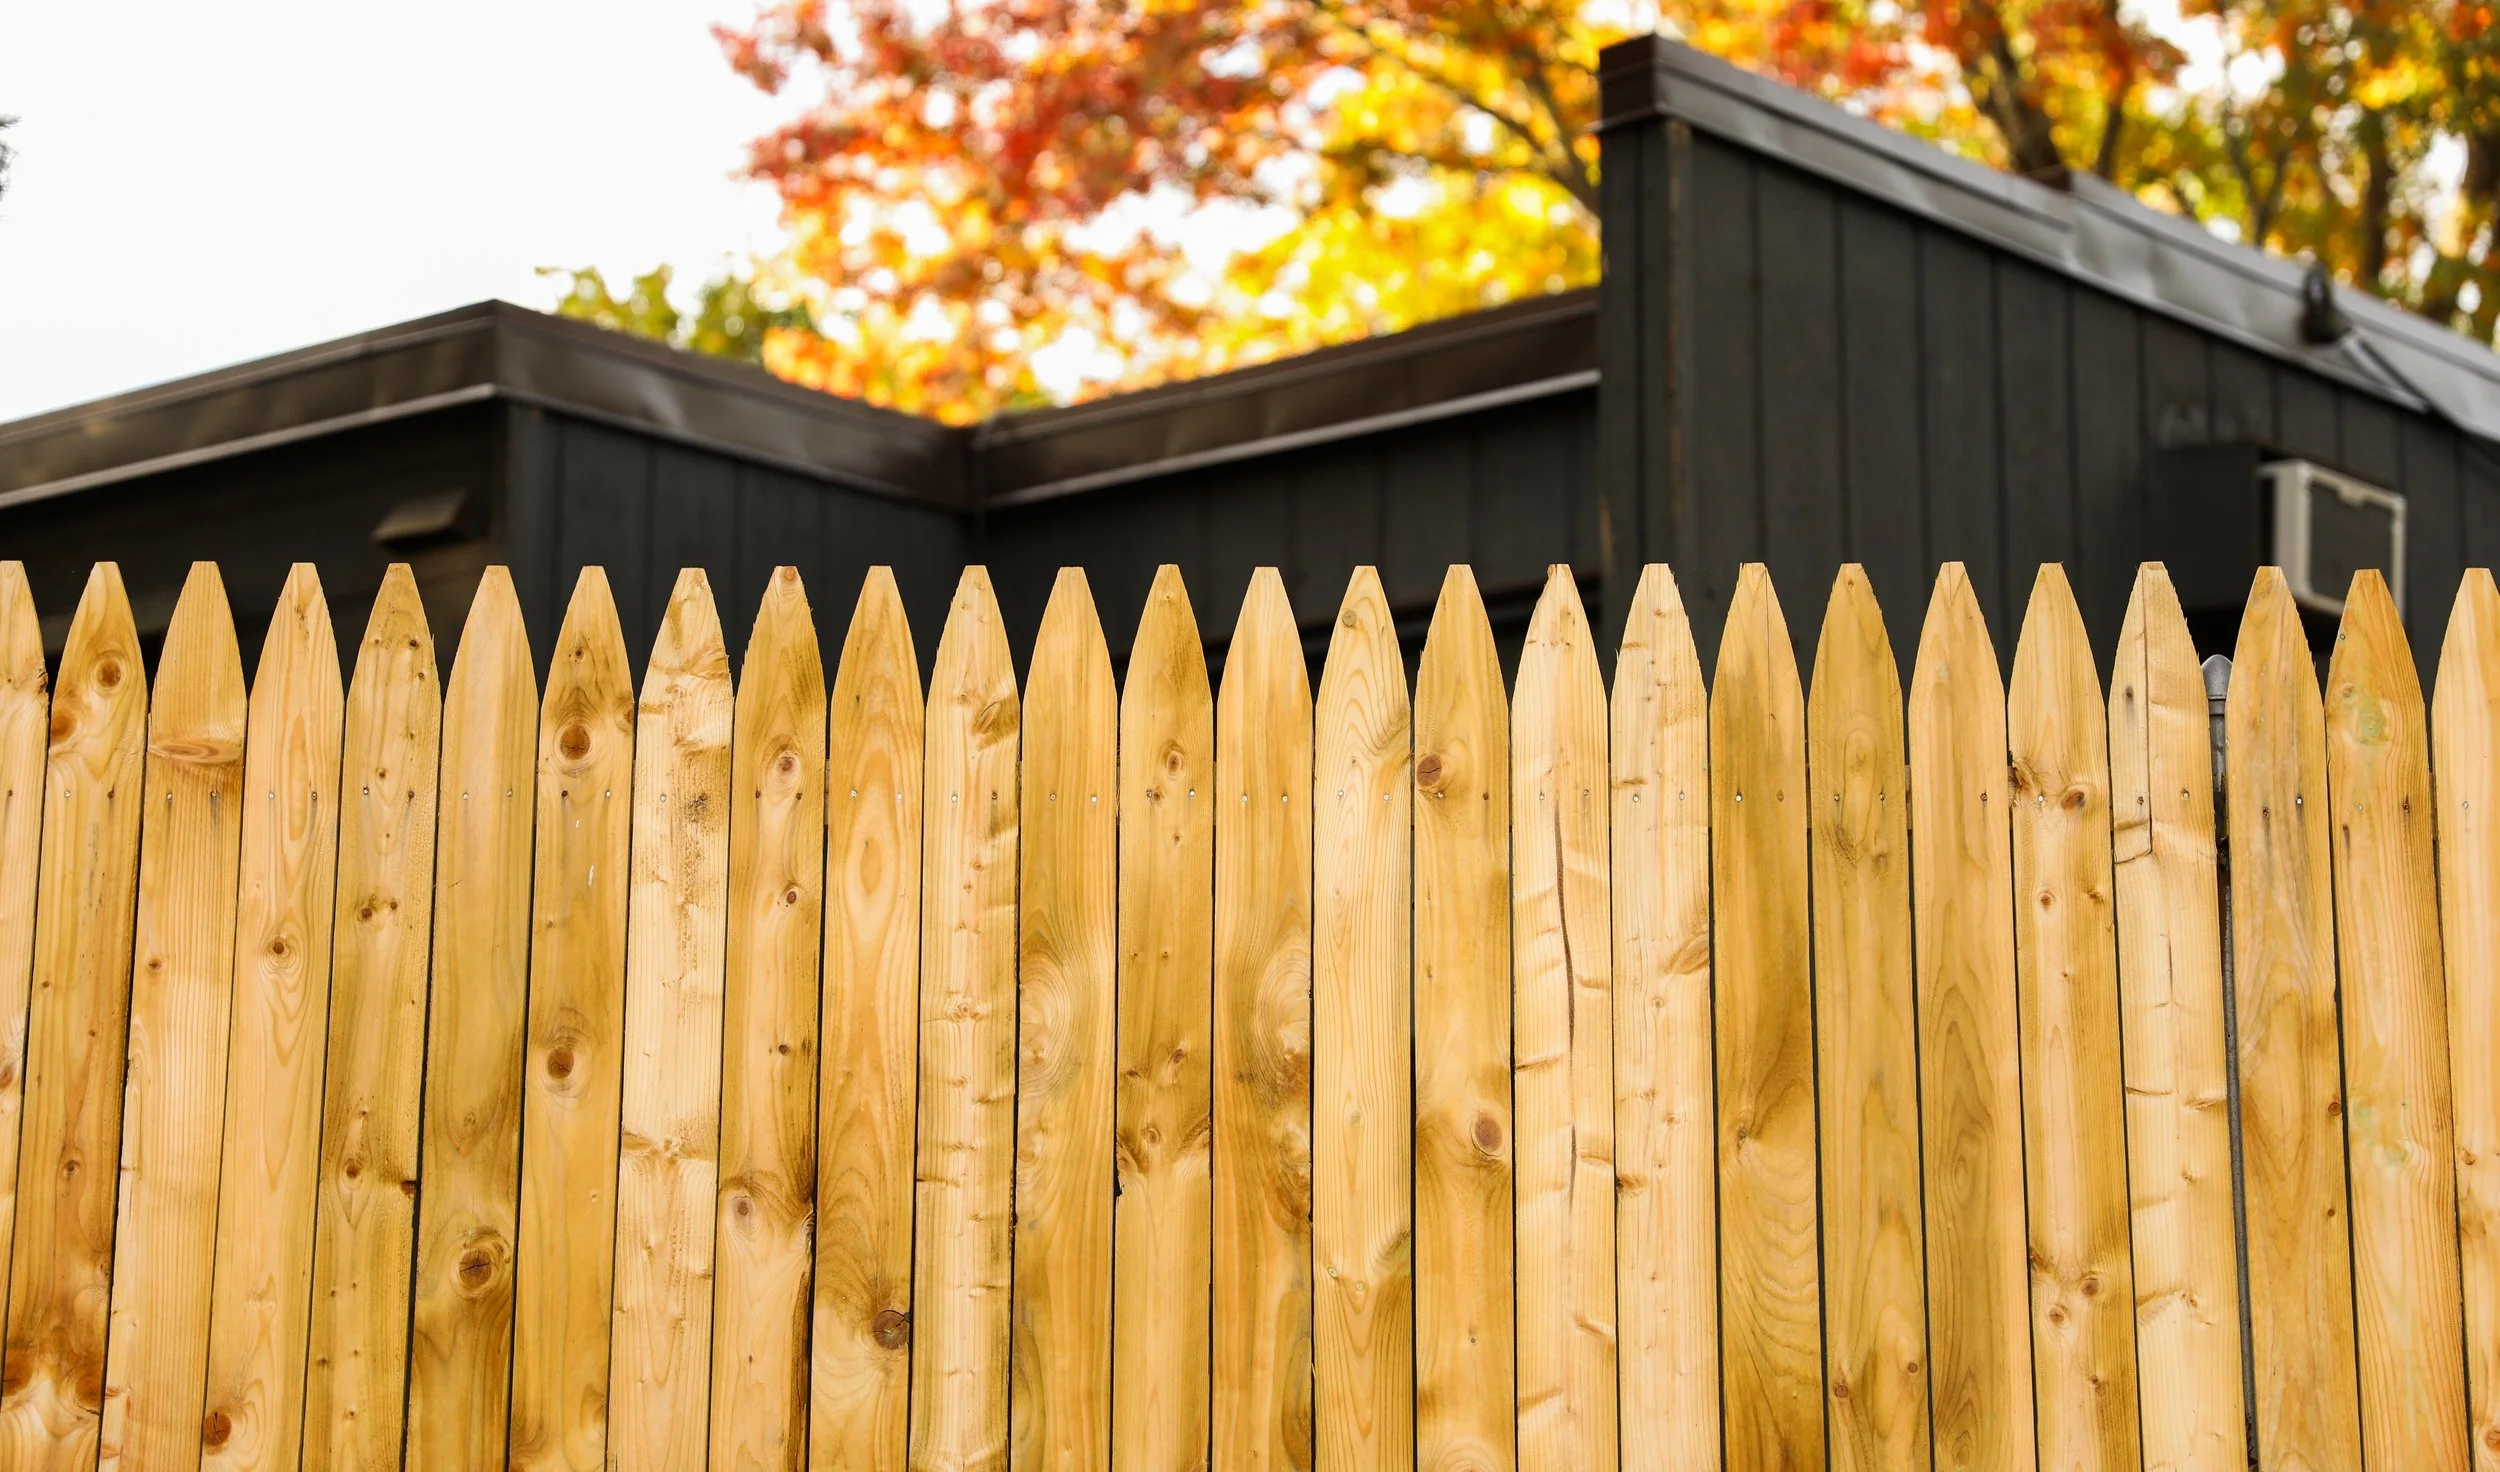
Attach Fence Panels
For attaching fence panels, you need to follow steps such as:
Preparing Fence Panels: Before proceeding to this step, ensure the panels are organized and properly spaced between the posts. If they do not fit well, you can trim the panels to adjust to the space.
Securing the Panels: For attaching wood panels, use galvanized nails or screws. Make sure you place the nails/screws nearly 6 to 8 inches apart from the vertical bars of the panel or into the posts.
Additional Panels: Once the first panel is securely installed, proceed to the next steps to attach the additional panels using the same process. Attach the edges of the new panels to the old ones, ensuring the same spacing between all panels.
Securing All Panels: Verify that each panel is secure. If not, tighten nails or screws as needed.
Installation of Gate (Optional)
No matter whether you have built a fence in your backyard or front yard, it's up to you whether you want to add a gate to your wood fence for getting in or out.
Staining and Finishing Procedure
These procedures protect the wood, improving its appearance and extending its expected lifespan. Here is how you can perform it:
Remove old stain or debris with the help of a scrub brush and a pressure washer.
Leave the fence dry for at least 24 to 48 hours.
Choose from semi-transparent or transparent stain finishes based on your protection needs.
Use a sprayer, roller, or brush to apply the stain.
Apply the next coating once the first coat is properly dried.
Do the process of applying the stain after every two to three years.
Conclusion
Installing a wooden fence is a rewarding project that requires proper planning, accurate measurements, and consistent craftsmanship. By choosing strong materials, placing posts precisely, and installing the boards and rails properly, you can ensure the fence is both durable and captivating. A properly installed wooden fence not only defines boundaries but also enhances the property's character and value.